introduction
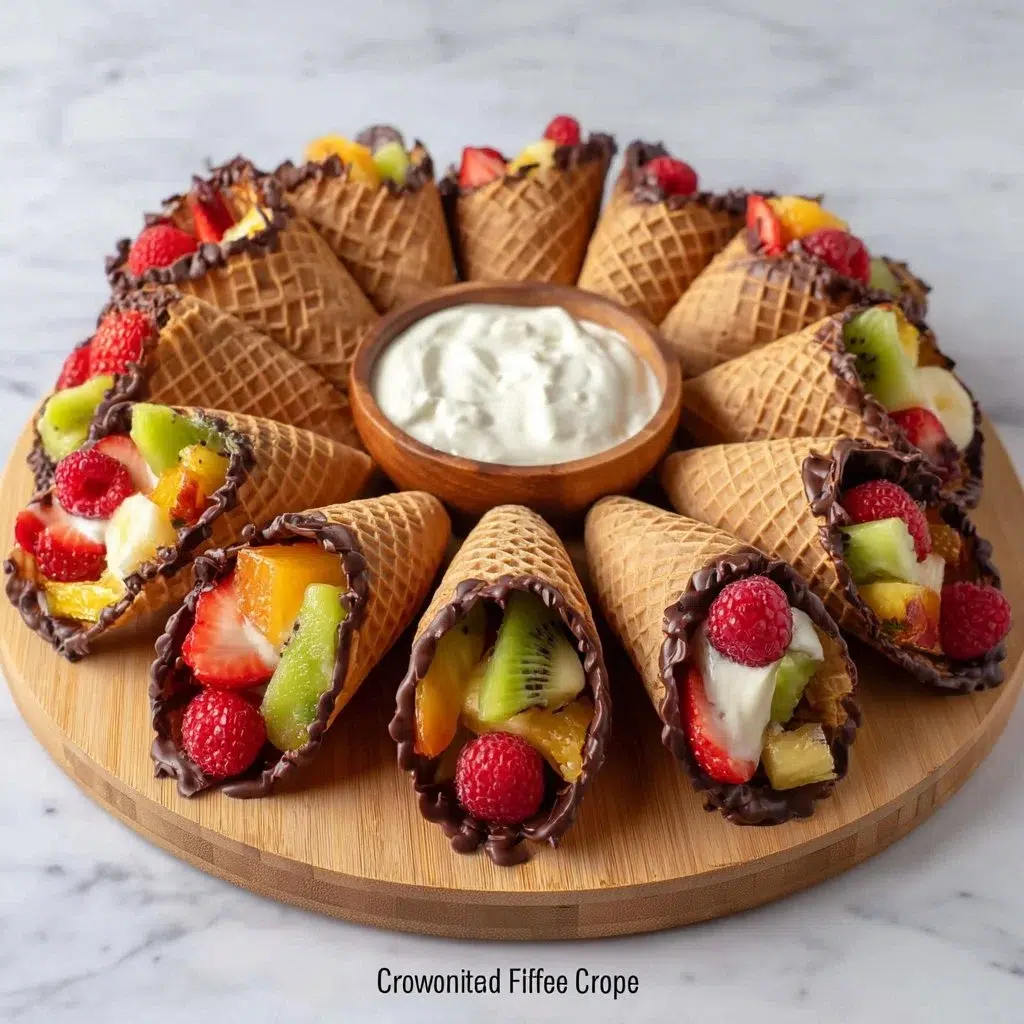
Since I was very young, cooking has always held a special place in my life. My name is Adam, and it was alongside my mother that I discovered the magic of flavors and homemade dishes. One recipe that has become a family favorite is the Chocolate-Dipped Fruit Cones. This treat combines the sweetness of fresh fruit with rich chocolate, creating a delightful snack that pleases both kids and adults.
Chocolate-Dipped Fruit Cones are simple to make and can be a fun project for gatherings and celebrations. They are versatile and can be filled with various fruits, making them suitable for any palate. In this article, I will guide you through the entire process of making these delicious cones, from the ingredients to serving tips, ensuring your finished product is delightful and visually appealing.
For more recipes follow me on Facebook and Pinterest.
Table of Contents
Table of Contents
why make this recipe
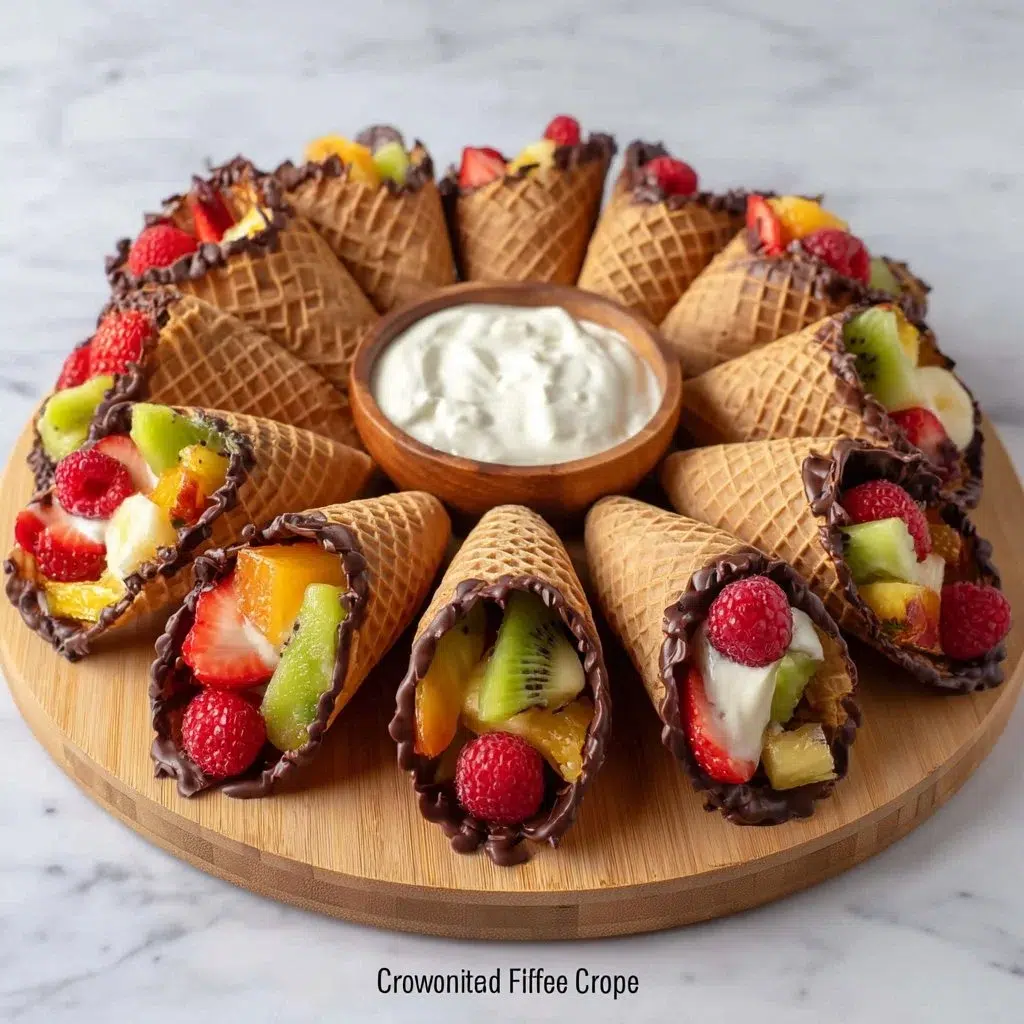
Chocolate-Dipped Fruit Cones offer numerous benefits that make them a popular choice for desserts and snacks. First off, the taste combination is incredibly appealing. The sweetness of ripe fruits pairs perfectly with the rich, creamy chocolate. This fusion creates a refreshing and indulgent treat.
The ease of preparation is another major advantage. You can whip up these cones in a short time, needing only a few ingredients. This simplicity allows anyone, regardless of culinary skill, to create something that looks and tastes gourmet. The versatility of this recipe means you can choose your favorite fruits or mix and match to suit your taste.
These cones are perfect for various occasions. Whether you are hosting a birthday party, a summer barbecue, or simply want a fun dessert for movie night, Chocolate-Dipped Fruit Cones will surely impress. They also present a healthier option compared to traditional desserts, utilizing fresh fruit for sweetness.
how to make Chocolate-Dipped Fruit Cones
Making Chocolate-Dipped Fruit Cones is a straightforward process that anyone can master. Start by gathering all your ingredients and tools. You will need ice cream cones, chocolate chips or melting wafers, assorted fresh fruits, and toppings like sprinkles or chopped nuts.
Melt the Chocolate: Begin by melting the chocolate chips in a microwave-safe bowl or using a double boiler. If using a microwave, heat the chocolate in 30-second intervals, stirring between each, until smooth. Be cautious not to burn the chocolate.
Prepare the Cones: Once the chocolate is melted, dip the rim of each ice cream cone into the chocolate, coating it generously. If you’d like, roll the dipped rim in sprinkles or chopped nuts for extra texture and flavor.
Fill with Fruit: After the chocolate has set, it’s time to fill the cones. Choose a mix of your favorite fresh fruits like strawberries, bananas, and kiwi. Cut the fruits into bite-sized pieces for easy filling. Stack them high in the cones for a colorful display.
Serve: Finally, serve the cones immediately. The chocolate should harden into a sweet shell that complements the juicy fruit inside.
To achieve perfect results, ensure your chocolate is fully melted without lumps and allow the cones to sit for a moment after dipping to let the chocolate set slightly. This step prevents dripping and ensures a clean presentation.
Ingredients
For Chocolate-Dipped Fruit Cones, you need:
- Ice cream cones
- Chocolate chips or chocolate melting wafers
- Assorted fresh fruits (e.g., strawberries, bananas, kiwi)
- Sprinkles or chopped nuts (optional)
Each ingredient plays a vital role. The ice cream cones provide a crunchy base that contrasts nicely with the smooth chocolate and juicy fruit. Chocolate chips or melting wafers create a delicious coating that adds flavor and visual appeal. Fresh fruits are the star of the show, offering natural sweetness and vibrant colors. If you’re looking to switch things up, feel free to use different types of fruit or even generic cones. When selecting fruits, opt for ripe, vibrant ones for the best flavor.
Directions
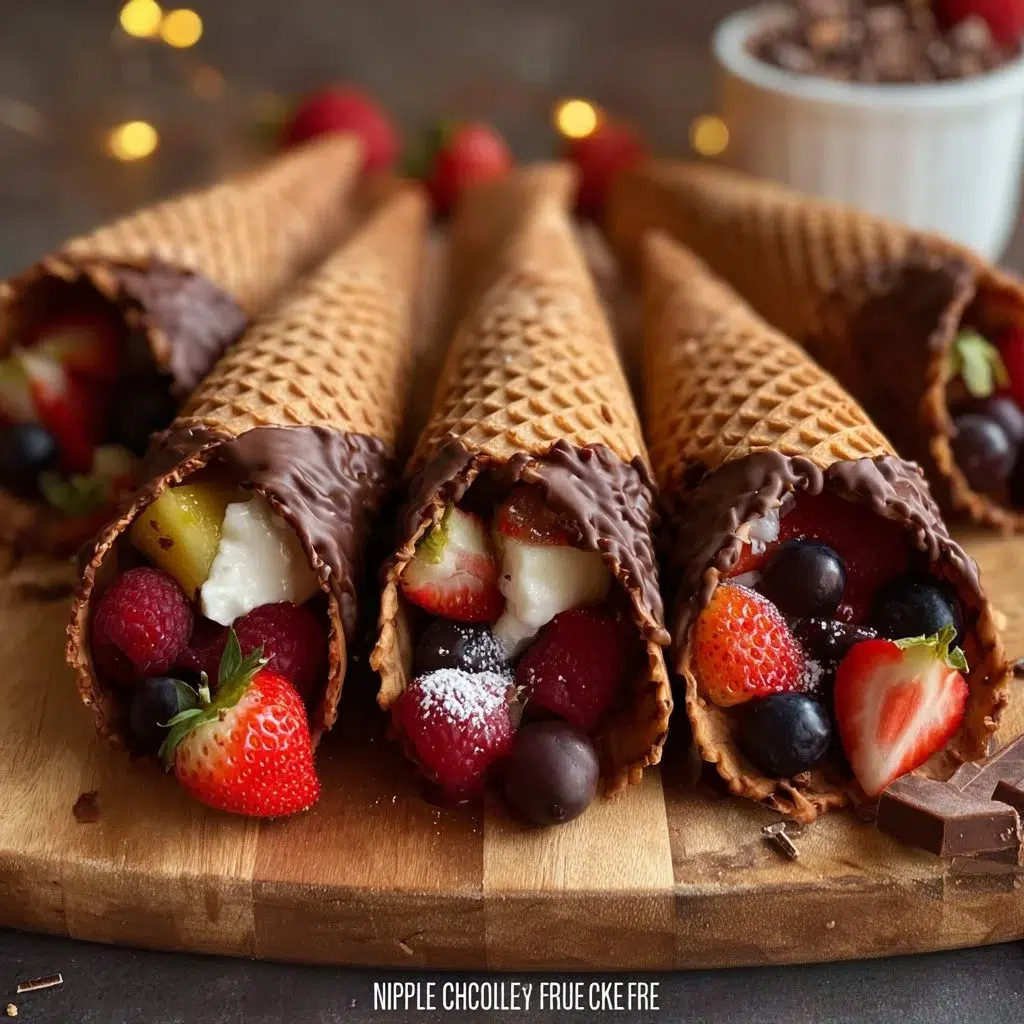
- Melt the chocolate chips in a microwave-safe bowl or using a double boiler.
- Dip the rim of each ice cream cone into the melted chocolate, then roll in sprinkles or chopped nuts if desired.
- Once the chocolate on the cones has set, fill each cone with assorted fresh fruits.
- Serve immediately and enjoy!
Best practices include ensuring your cones are dry before dipping in chocolate. This precaution helps the chocolate adhere better. Serve the cones soon after filling to maintain the fresh taste and texture, preventing the cones from getting soggy.
how to serve Chocolate-Dipped Fruit Cones
Chocolate-Dipped Fruit Cones make for a stunning presentation, ideal for buffet tables or parties. Serve them upright in a container or arranged on a platter. Pair them with a dip, such as yogurt or whipped cream, for an added layer of flavor.
For texture and flavor balance, consider serving these cones alongside a light salad or snacks that offer crunch and freshness. The fruity sweetness of the cones pairs nicely with savory side dishes.
how to store Chocolate-Dipped Fruit Cones
Storing Chocolate-Dipped Fruit Cones can be tricky due to the fresh fruit. The best option is to store the filled cones in the refrigerator if you have leftovers. Place them in an airtight container to maintain freshness, but be aware that the texture of the cones may become slightly soft over time.
If you prepared the cones without fruit, you could store them at room temperature in a cool, dry place. They can last for several days as long as the chocolate remains intact.
tips to make Chocolate-Dipped Fruit Cones
For advanced results, consider tempering the chocolate before dipping the cones. This technique ensures a glossy finish and helps the chocolate set perfectly. If you want a richer chocolate taste, add a pinch of sea salt to the melted chocolate.
Experiment with various fruits. For a tropical twist, try mangoes or pineapples. You can also use seasonal fruits for different flavor profiles throughout the year. When creating these cones, involving children can make the experience more fun, allowing them to pick their favorite combinations.
variation
There are several creative variations to the basic Chocolate-Dipped Fruit Cones. For a nutty flavor, try using almond bark or white chocolate instead of regular chocolate. You could add a dash of flavoring, like vanilla or peppermint, while melting the chocolate for a unique twist.
Another option is to incorporate a cream layer. Pipe some whipped cream or a cream cheese blend into the cones before adding fruits. This combination adds creaminess and elevates the dessert to another level.
You can also make it a full dessert bar by setting up an assembly station. Provide different types of fruits, chocolates, and toppings, allowing guests to create their custom cones.
FAQs
1. Can I use frozen fruits for Chocolate-Dipped Fruit Cones?
While fresh fruits yield the best texture and flavor, you can use frozen fruits if thawed and excess moisture removed. Just be aware that they may not hold their shape.
2. How can I make my chocolate dip thicker?
If you want a thicker chocolate coating, add more chocolate chips or reduce the melting time slightly to leave it more viscous.
3. Can I prepare these cones in advance?
It’s best to fill the cones just before serving to ensure they stay crunchy. However, you can prepare the dipped cones a few hours ahead and fill them right before serving.
Conclusion
Chocolate-Dipped Fruit Cones are a delightful treat that combines sweetness and crunch in a fun, easy-to-make dessert. Whether you serve them at a party or enjoy them as a special family snack, they are sure to be a hit. For additional inspiration on delicious fruit cones, check out this recipe, or if you’re looking for variations, see this guide to explore unique takes on the classic. For a comprehensive view of options, visit this site as well.
Chocolate-Dipped Fruit Cones
- Total Time: 25 minutes
- Yield: 4 servings
- Diet: Vegetarian
Description
A fun and versatile dessert combining fresh fruit and rich chocolate in crispy cones.
Ingredients
- Ice cream cones
- Chocolate chips or melting wafers
- Assorted fresh fruits (e.g., strawberries, bananas, kiwi)
- Sprinkles or chopped nuts (optional)
Instructions
- Melt the chocolate chips in a microwave-safe bowl or using a double boiler.
- Dip the rim of each ice cream cone into the melted chocolate, then roll in sprinkles or chopped nuts if desired.
- Fill each cone with assorted fresh fruits once the chocolate has set.
- Serve immediately and enjoy!
Notes
Best served fresh to maintain cone texture. Store in the refrigerator if filled with fruit.
- Prep Time: 15 minutes
- Cook Time: 10 minutes
- Category: Dessert
- Method: No-Cook
- Cuisine: American